Maximizing the efficiency of the Dust Muzzle depends upon two things: 1) correct installation of the Dust Muzzle on your grinder and 2) having a vacuum that is powerful enough to collect the dust.
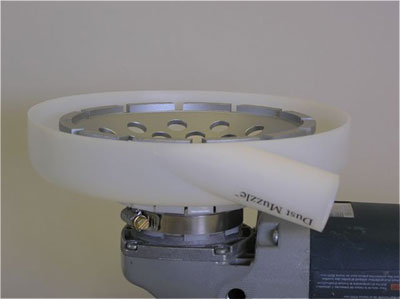
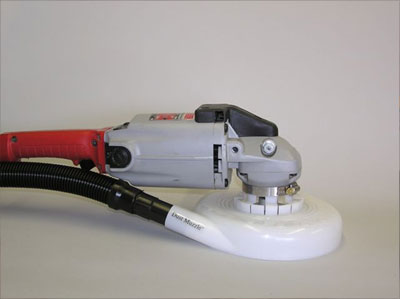
For maximum efficiency, the Dust Muzzle should touch the work surface at the same time or slightly prior to the grinding wheel, thereby creating a face seal. This is what the final installation should look like. Note that in this photo the wheel is slightly below the skirt of the Dust Muzzle.
Step 1
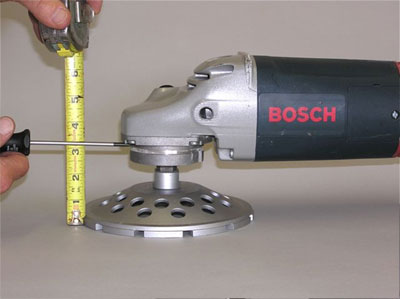
Measure the distance from the surface of the work to the top of the bearing housing of the grinder.
Step 2
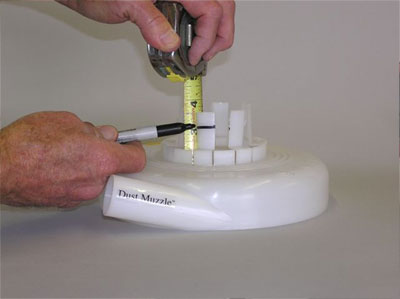
Add 1/8” to the measurement in Step 1 and make a corresponding mark on the fingers of the Dust Muzzle.
Step 3
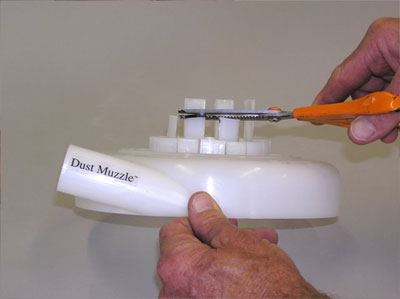
Trim the fingers of the Dust Muzzle with a scissors.
Step 4
Attach the Dust Muzzle to your grinder with the hose clamp (supplied).
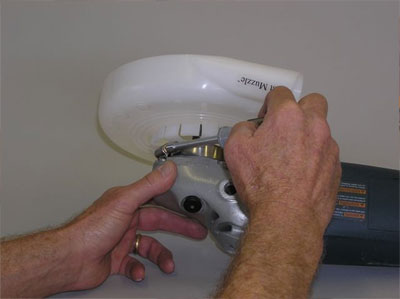
Check that the Dust Muzzle is flat on the work surface and that you have a face seal with your work. Use the releasable cable tie (supplied) to attach the step-down hose to the handle or the power cord of your grinder. This will prevent the hose from pulling on the Dust Muzzle.
Vacuums
There are many excellent vacuums on the market. Your vacuum will have enough power to efficiently collect the dust from a Dust Muzzle if it has the following specifications.
1. A 2hp motor (12 amps continuous)
2. 80” or more static lift
3. 120 cfm (cubic feet per minute) airflow.
For the less expensive models of vacuum, it is essential that they have a disposable filter bag. This is the type of bag that collects the dust and is then disposed of like the systems that are typically used for residences.
